Getting Started with Phoenix Framework

Install Elixir
In order to get started with phoenix you will need to install elixir.
Fortunately installing elixir is pretty painless. The elixir installation page has some really great documentation on how to install for many different environments. My preferred method is with homebrew, if you aren't already using it you should be.
With homebrew the install is just running the following command.
brew install elixir
Install Pheonix
Now that we have elixir installed we need to install a package management
utility called hex. This is required for dependency management in phoenix.
To install Hex run this command.
mix local.hex
- Note: mix is a elixir task runner command. Very similar to rake in ruby.
Now lets actually install the phoenix package.
mix archive.install https://github.com/phoenixframework/archives/raw/master/phoenix_new.ez
Awesome! Phoenix is installed!
Starting your Phoenix Project
Let's create a new phoenix project.
mix phoenix.new pheonix_app
This command will create a new phoenix application in the folder called phoenix
app. So lets move into that directory.
cd pheonix_app/
Now that we are in our Phoenix app's directory. We need to run a few commands to
launch the most basic phoenix page.
We need to ensure all of our dependencies have been downloaded and are available
to us.
mix deps.get
this command is equivalent to "bundle install" for ruby applications. If you are
not familiar with ruby then just think of this command as a way to ensure all
the required parts of your app are there. During the course of building a
phoenix application you will use this command many times to download and include
libraries which will ease your building process.
Once we have all of our dependencies downloaded and in our app we need to ensure
we have a database to connect to. Now this is not required for some apps, but it
is usually required on most applications of some substance.
Before we can configure the database we need to ensure we have the correct
credentials to access the database installation and interact with it. In phoenix
these credentials are stored in the respective environment files for development
this is config/dev.exs for production the file would be config/prod.exs
config :phoenix_app, PhoenixApp.Repo,
     adapter: Ecto.Adapters.Postgres,
     username: "postgres",
     password: "postgres",
     database: "phoenix_app_dev",
     hostname: "localhost",
     pool_size: 10
Change the user name and password to your local database's username and
password
Now we can create the database.
mix ecto.create
Once you have the database we can start the server.
mix phoenix.server
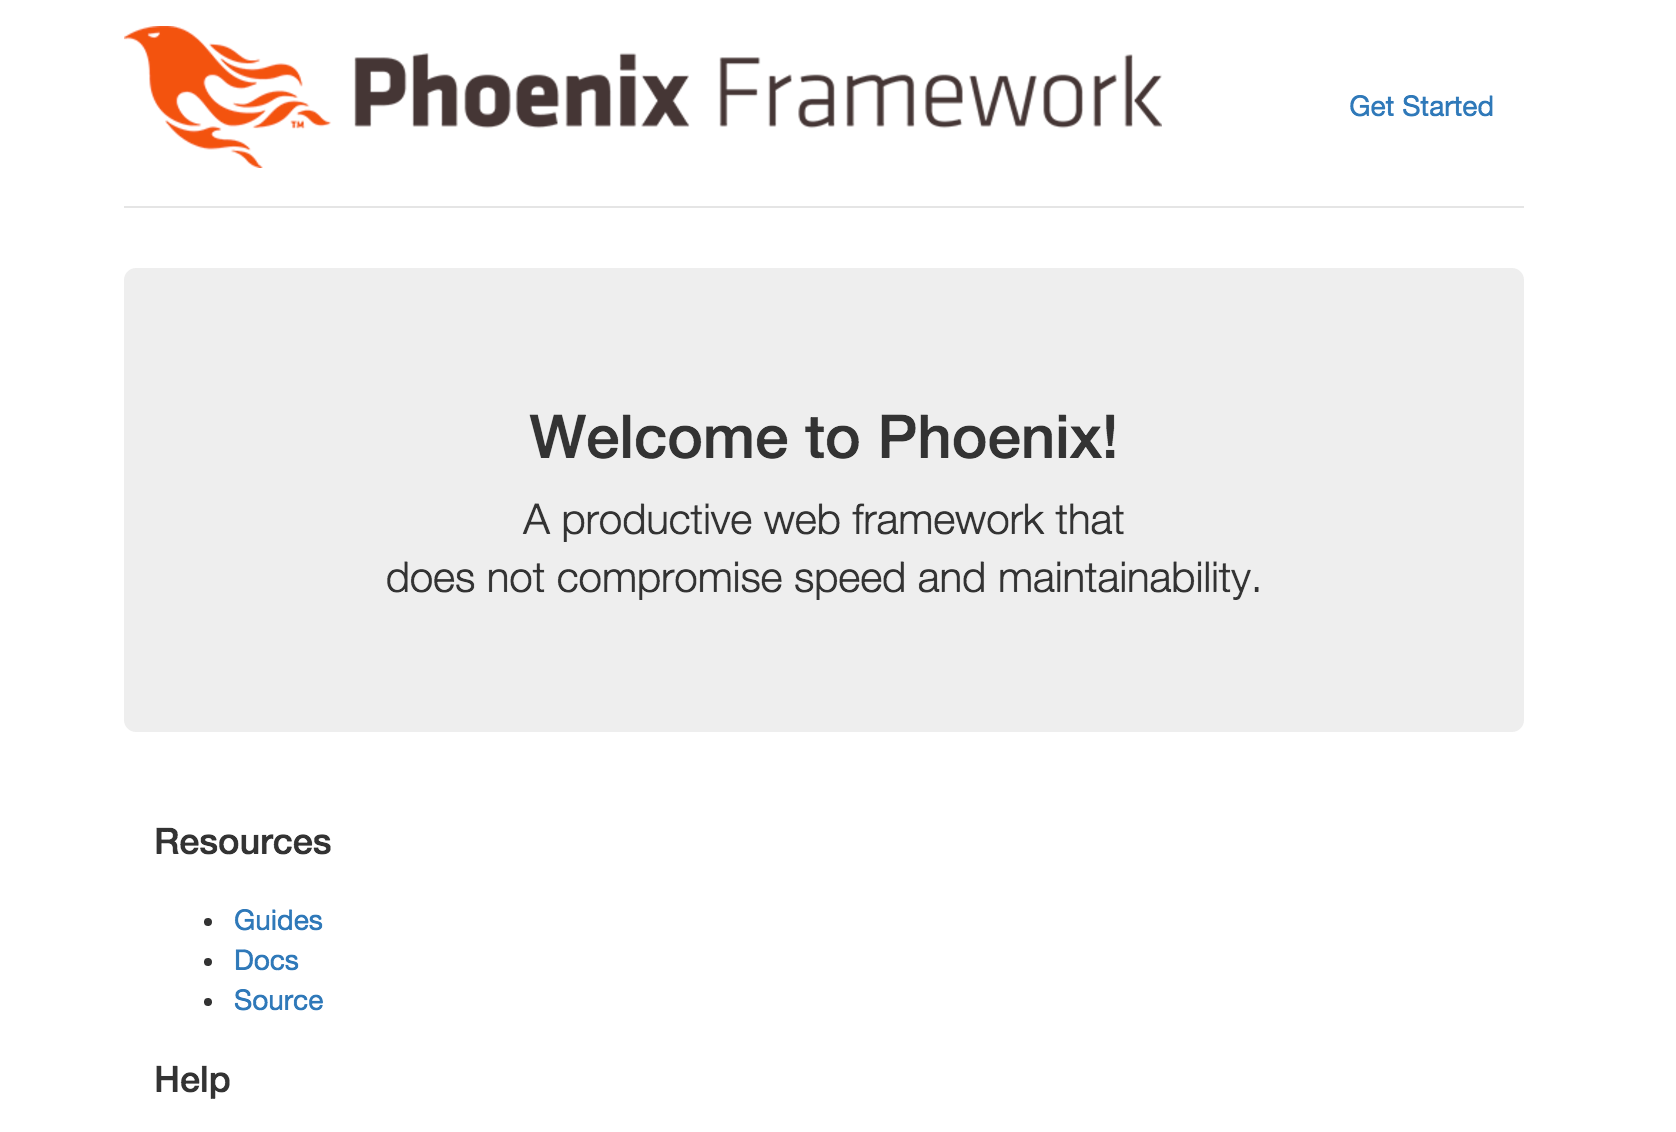
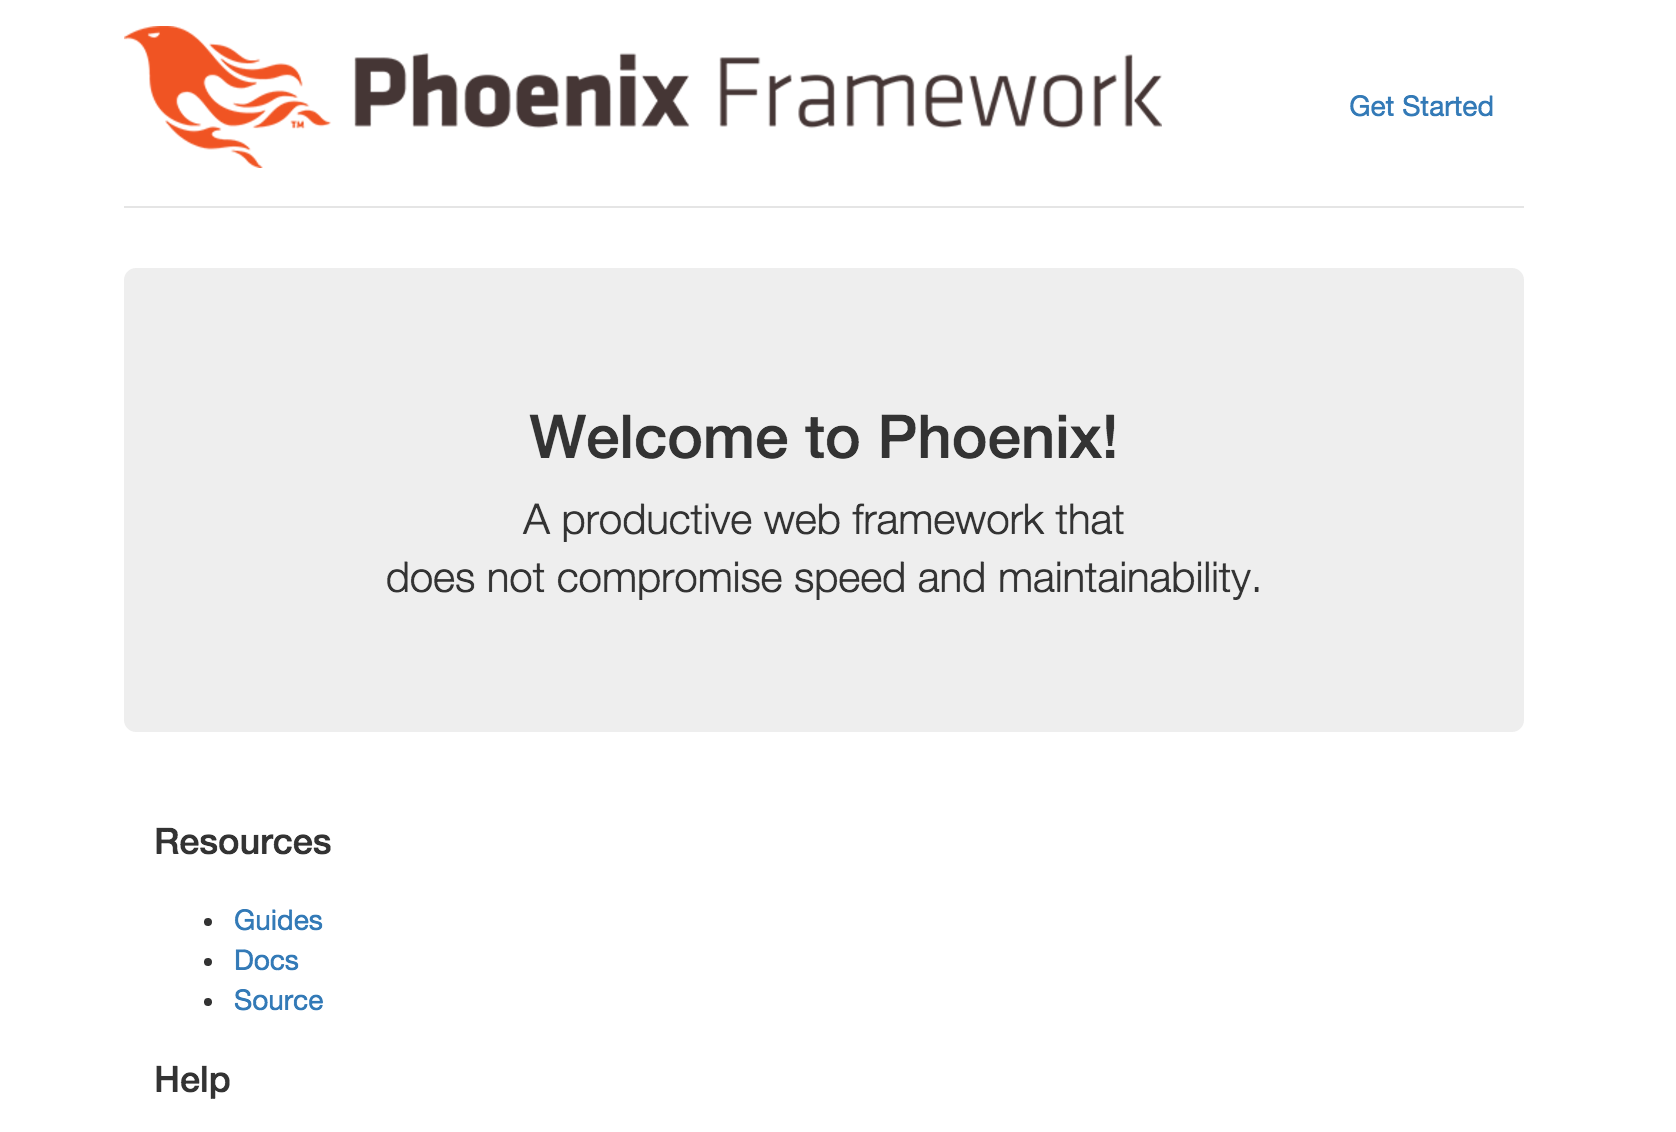
Now you can load http://localhost:4000 in your browser and you should see the
phoenix welcome page.

